The Ultimate Guide to DIY Dust Baths for Chickens
“The care of animals is a sacred duty.” - Mahatma Gandhi
Please be aware that this blog contains affiliate links. This means that if you click on these links and make a purchase, we may receive a small commission at no extra cost to you.
Introduction
Are your chickens plagued by mites and constantly dirty? If so, a chicken dust bath is a perfect solution to keep your hens healthy and clean. Chickens naturally seek out dust to clean themselves and ward off pests. Here’s a straightforward guide to creating your own chicken dust bath.

💡 Fun Fact
Did you know that dust bathing is not only essential for domestic chickens but is also a common behavior in many wild bird species? Birds, including sparrows and finches, engage in dust bathing to maintain their feather health and hygiene.
Why Dust Baths for Chickens Are Essential

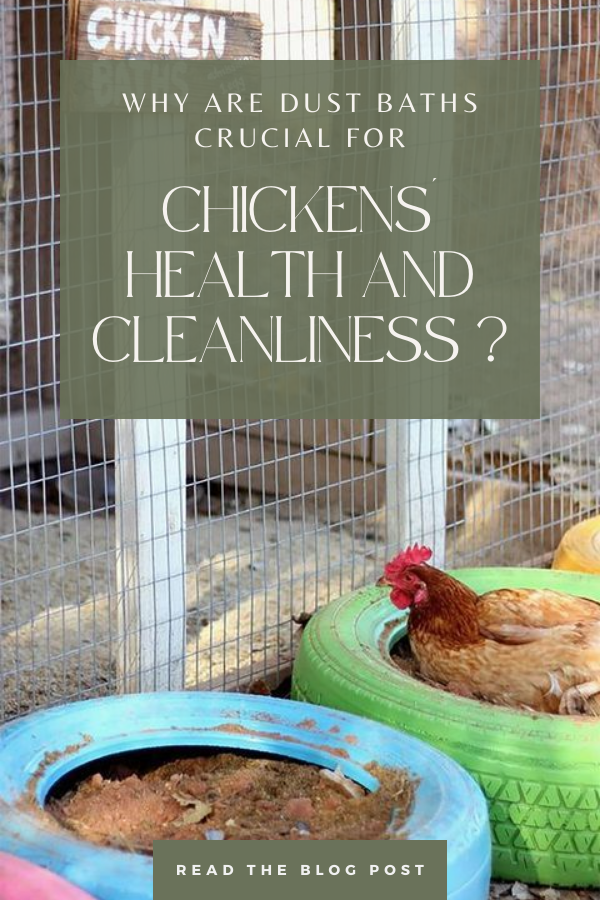
Chickens instinctively use dust baths to maintain cleanliness. These baths are crucial for removing pests like mites and lice, and they absorb extra oils that can weigh down feathers. So, regular access to a well-maintained dust bath can significantly improve the wellbeing of your flock.
What You’ll Need to Create A DIY Dust Bath for Your Chickens
Step-by-Step Instructions
Step 1: Select a Location
Start by washing the broccoli and chopping it into bite-sized pieces. Thinly slice the mushrooms and mince the garlic.
Step 2: Prepare the Container
If you’re using a container, place it in the selected location. Ensure it’s sturdy and won’t tip over when the chickens use it. If you’re digging a pit, make it about 6 to 12 inches deep.
Step 3: Add Sand
Fill the container or pit with a few inches of sand. Sand is the main ingredient of the dust bath, providing a good base for the chickens to roll around in.
Step 4: Mix in Dirt
Add an equal amount of dirt to the sand. Mix them together well. Dirt adds texture and helps the chickens scratch and dust themselves effectively.
Step 5: Include Wood Ash
Sprinkle a layer of wood ash over the sand and dirt mixture. Wood ash helps to kill parasites and is gentle on the chickens’ skin. Make sure the ash is cool and free from any chemicals or treated wood.
Step 6: Mix Thoroughly
Use a shovel or garden trowel to mix all the ingredients together. Ensure the mixture is even and well-blended. Your dust bath is now ready for use!
💡 Pro Tip
For an extra boost, add a small amount of food-grade diatomaceous earth. This powder helps eliminate parasites by dehydrating them. Use it sparingly, as too much can dry out your chickens’ skin.
Pros and Cons of Providing a Dust Bath for Chickens
Pros:
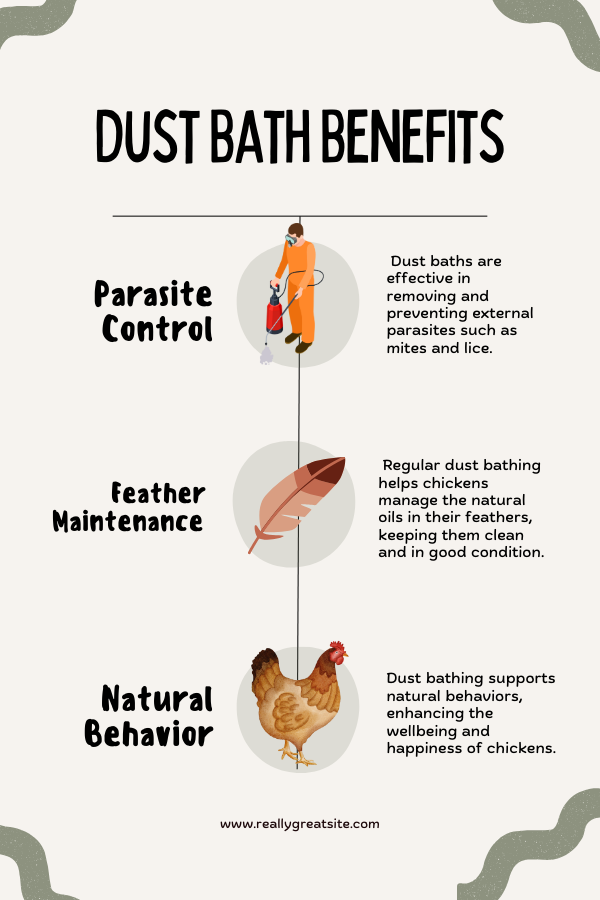
Parasite Control: Dust baths are effective in removing and preventing external parasites such as mites and lice.
Feather Maintenance: Regular dust bathing helps chickens manage the natural oils in their feathers, keeping them clean and in good condition.
Natural Behavior: Dust bathing supports natural behaviors, enhancing the wellbeing and happiness of chickens.
Low Cost: Creating and maintaining a dust bath is relatively inexpensive and uses readily available materials.
Cons:
Space Requirements: Dust baths require a dedicated space, which might be a constraint in smaller coops or urban settings.
Maintenance: To remain effective, dust baths need regular maintenance, such as replenishing the materials and keeping the area clean and dry.
Weather Dependency: In areas with frequent rain or snow, maintaining a dry dust bath can be challenging.
Potential Mess: Dust baths can lead to a scattered mess around the bathing area, requiring additional cleanup, especially in confined spaces.

Frequently Asked Questions
Why Do Chickens Need Dust Baths?
Chickens require dust baths to maintain their feather health and hygiene. Basically, it helps remove parasites like mites and lice, absorbs excess oil, and keeps their feathers in top condition.
Can I Use Any Type of Dirt for the Dust Bath?
It's best to use clean, untreated soil that is free of chemicals. Avoid using heavily compacted or clay-heavy soil as it won't provide the loose, fine texture that chickens prefer for their dust baths.
How Often Should I Replace the Materials in the Dust Bath?
You should check the dust bath regularly and refresh the materials whenever they appear dirty or depleted. Typically, adding fresh sand, soil, and wood ash every few weeks will keep it in good condition.
Is Diatomaceous Earth Safe for All Chickens?
Yes, diatomaceous earth is safe for chickens when used sparingly. It helps control parasites effectively. However, ensure it is food-grade and use it judiciously to prevent over-drying the chickens' skin.
Conclusion
Creating a dust bath for your chickens is not only helpful, but it’s also fun for them. Dust baths help keep your chickens clean, remove bugs like mites, and keep their feathers looking good.
Although setting up and maintaining a dust bath takes some work, and you need a bit of space, the benefits are worth it.
Just make sure to keep the dust bath dry and clean, and refill it with fresh materials when needed. This way, your chickens will be healthier and happier.
If you have any questions or want to share your experience, feel free to reach out or leave a comment below!
